3D Model 15: 3D-Printable Rubik's Cube Robot Carrying Case
Introduction
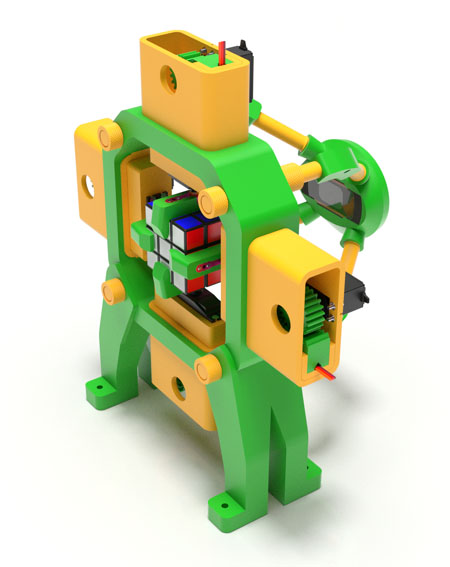
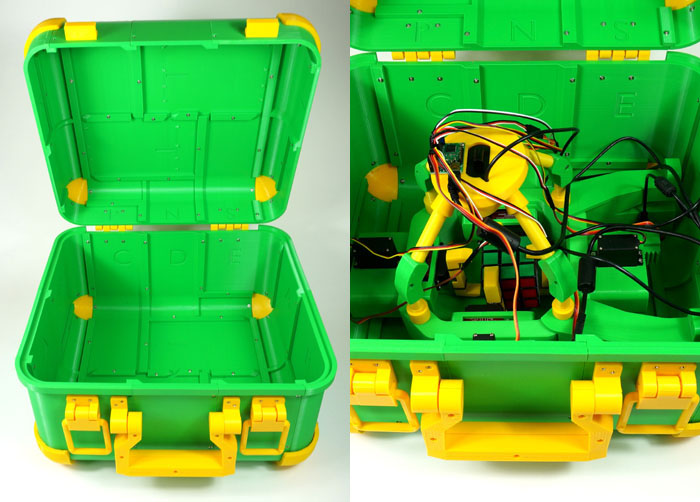
Now there is a way to bring about even more excitement and curiosity, even before the robot is unveiled. Just carry it into the room in a briefcase that is also fully 3D-printed!
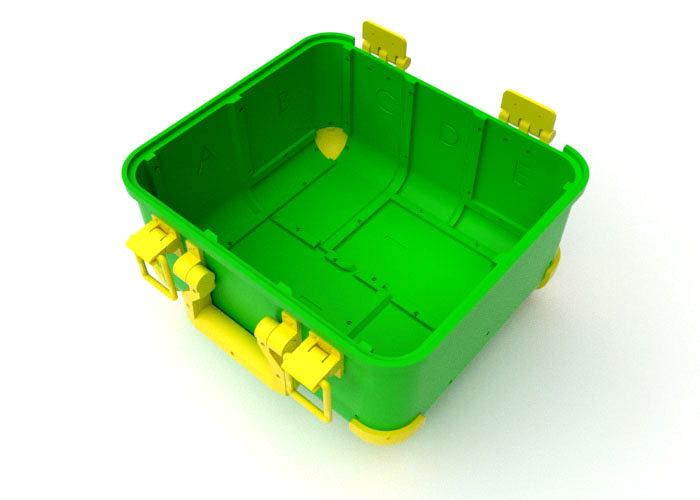
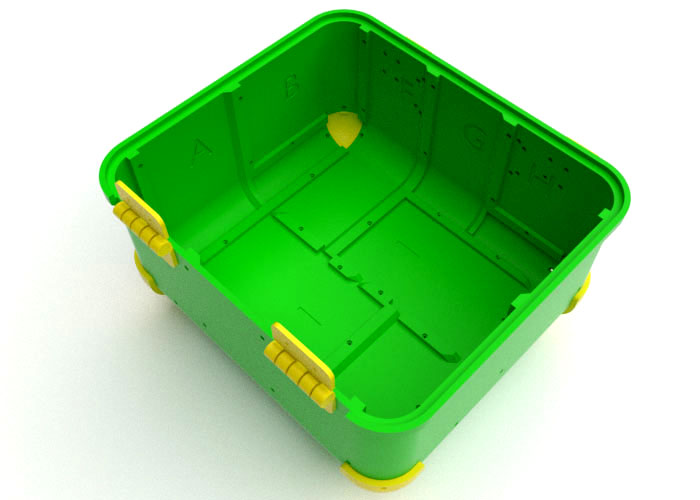
This carrying case was designed specifically with the robot’s dimensions in mind. The robot will fit in it perfectly with plenty of room for accessories. By no means a small project, the case requires a printer with a large print platform, such as Creality CR-10, as some of its parts are outright massive. There are 44 parts overall, and you will need a big bag of bolts and nuts to hold them together.
Please note that while this carrying case will do a great job protecting your robot’s delicate machinery as you haul it around town, a shipping container IT IS NOT!

Introduction Video:
Download
3D-Printed Parts
Body & Lid Segments
Latches & Hinges
Handle
Assembly Instructions
The following sequence is recommended:
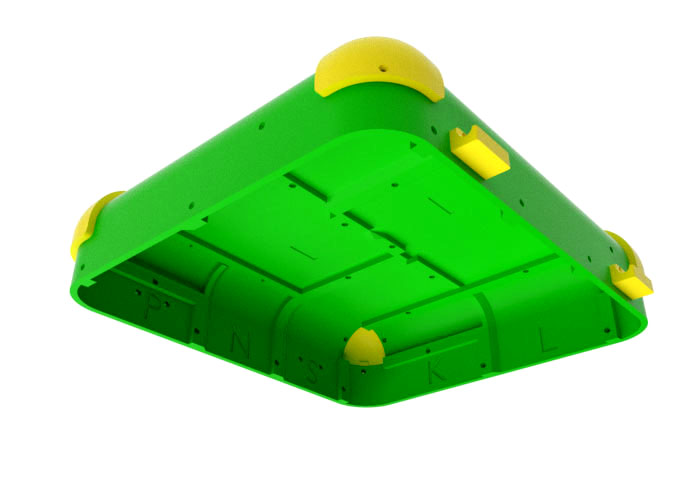
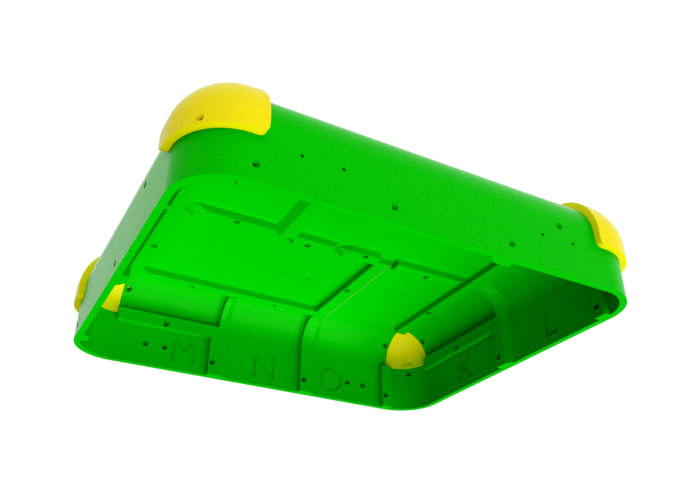
- Assemble the body and lid from segments (shown in green) with bolts and nuts according to the images below.
- Attach the rounded corners to the body and lid with bolts and nuts.
- Attach the two halves of the handle together with bolts and nuts.
- Insert latch buckles into latch bottoms.
- Attach the latch bottoms to the body, and latch tops to the lid, with bolts and nuts.
- Insert the handle to handle bases, attach the bases to the body with bolts and nuts.
- Attach the hinges to the body, then the lid to the hinges, with bolts and nuts.